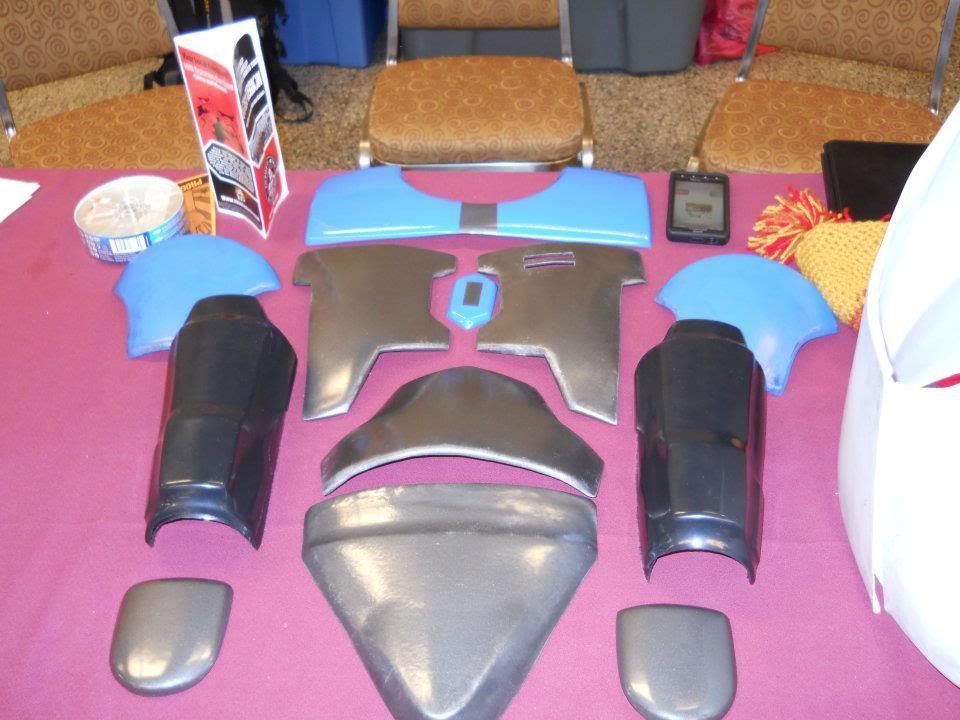
I have made some huge leaps towards finishing this scratch build. Here is an update:
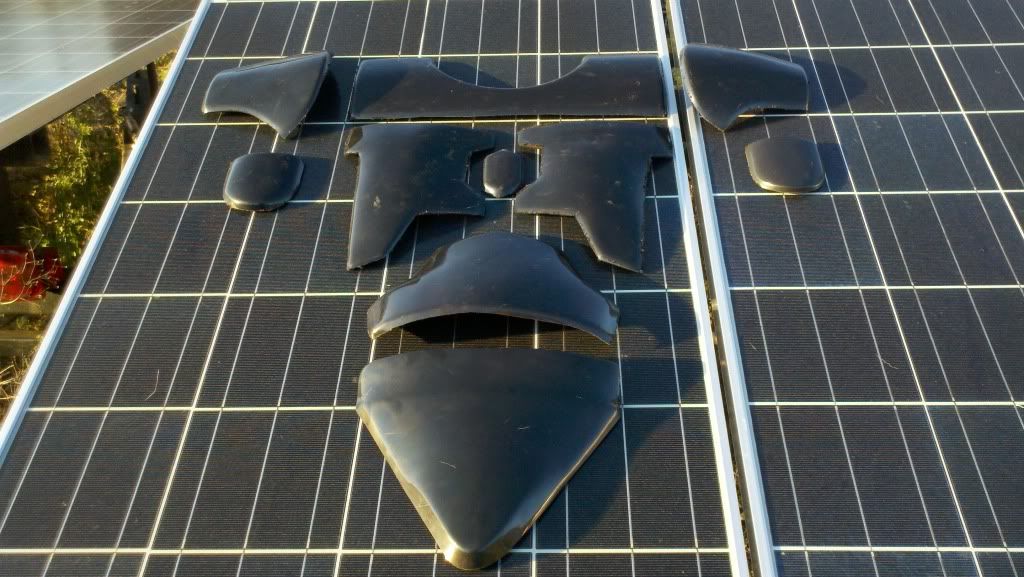
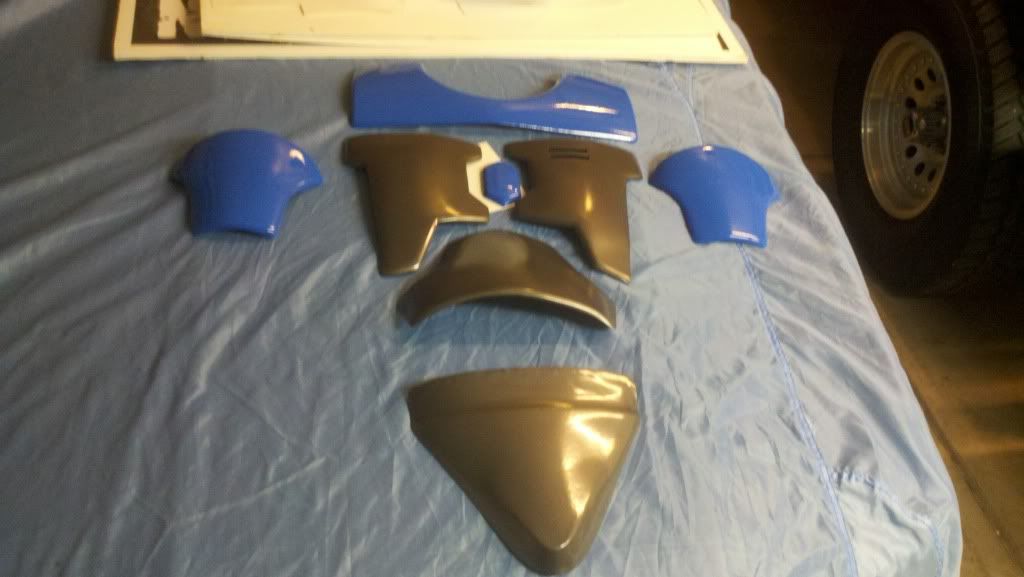
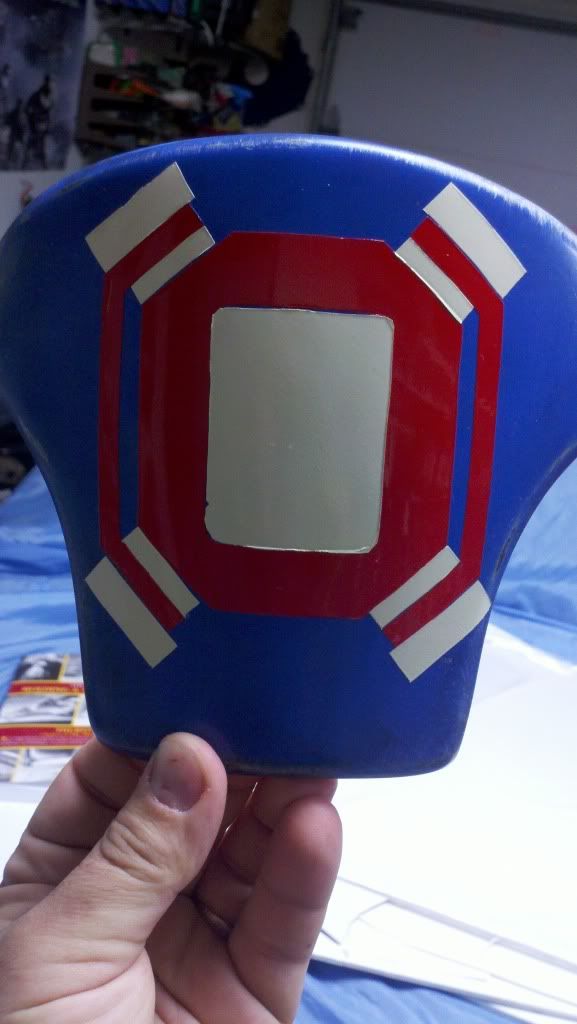
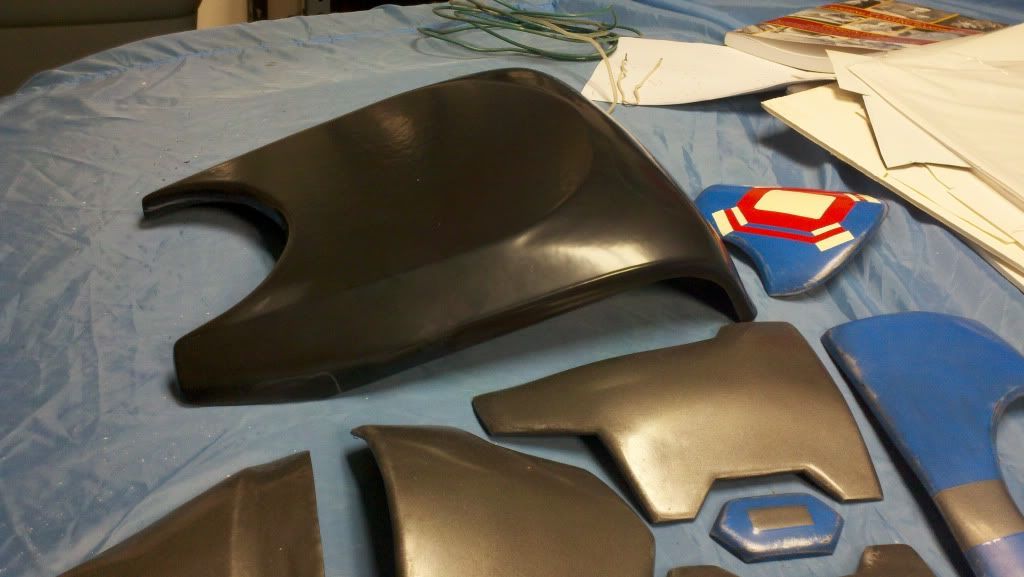
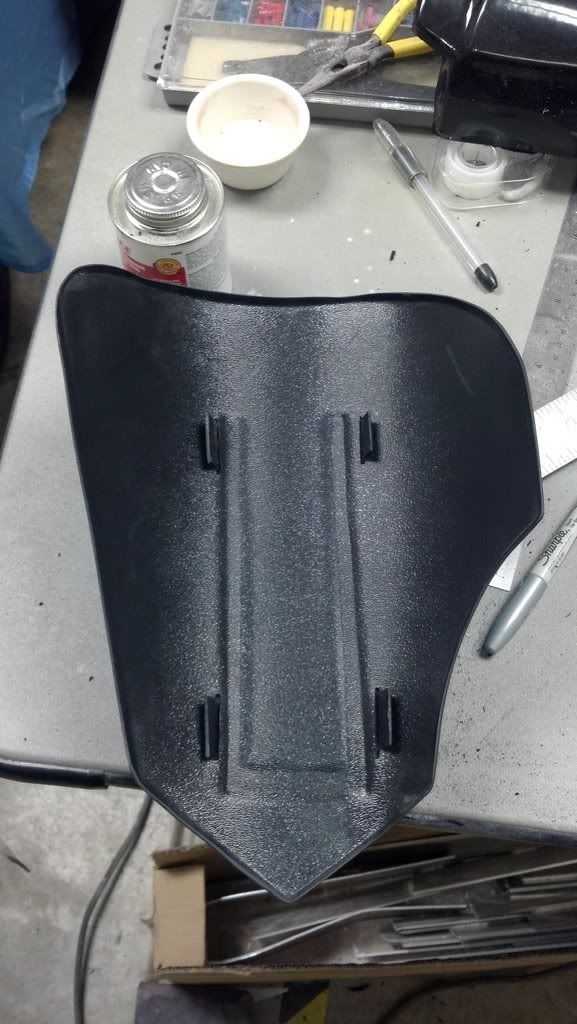
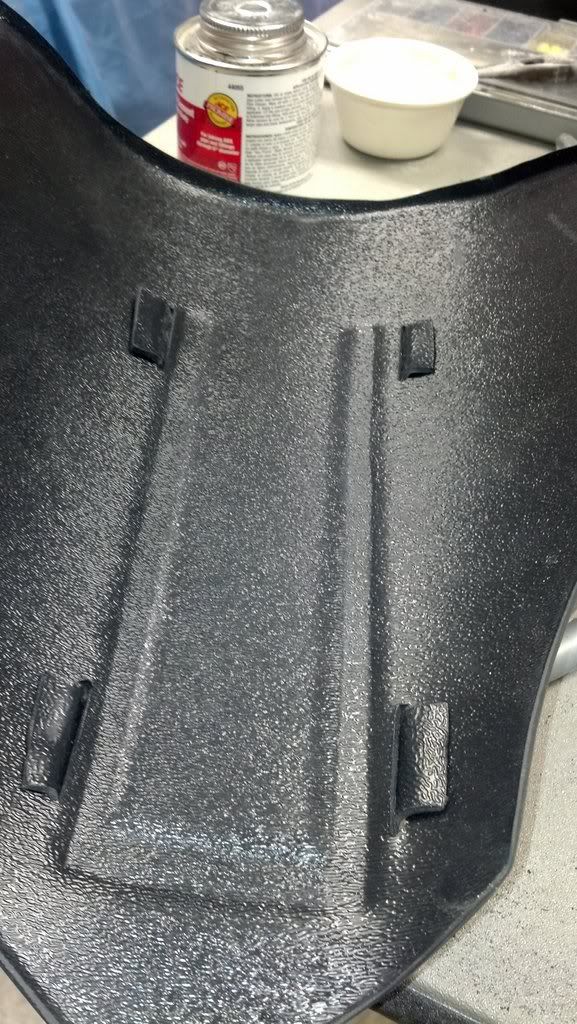
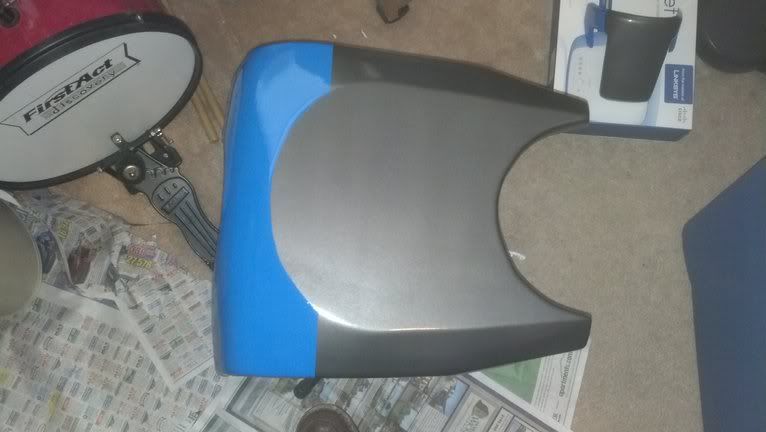
Knee Plate:
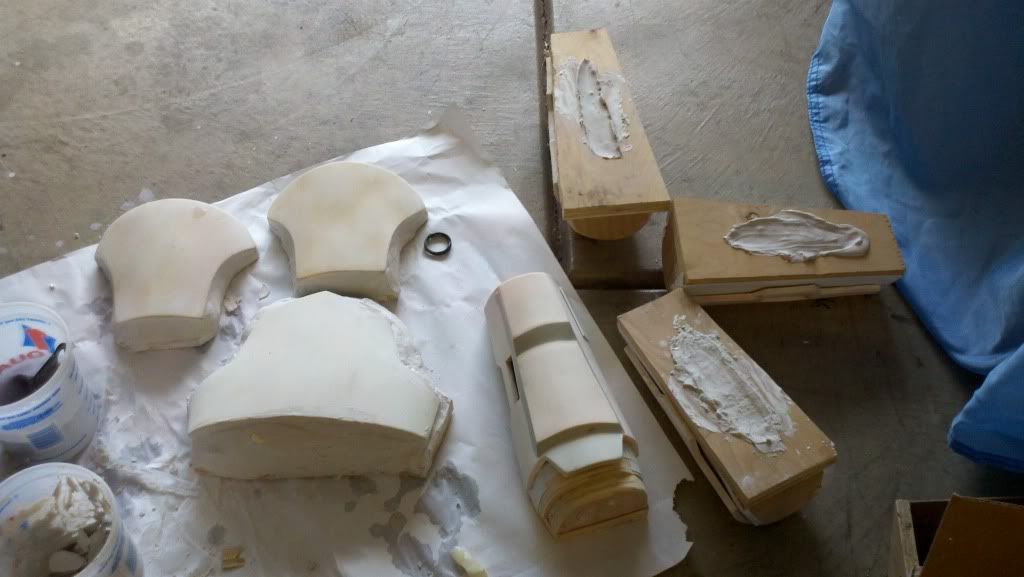
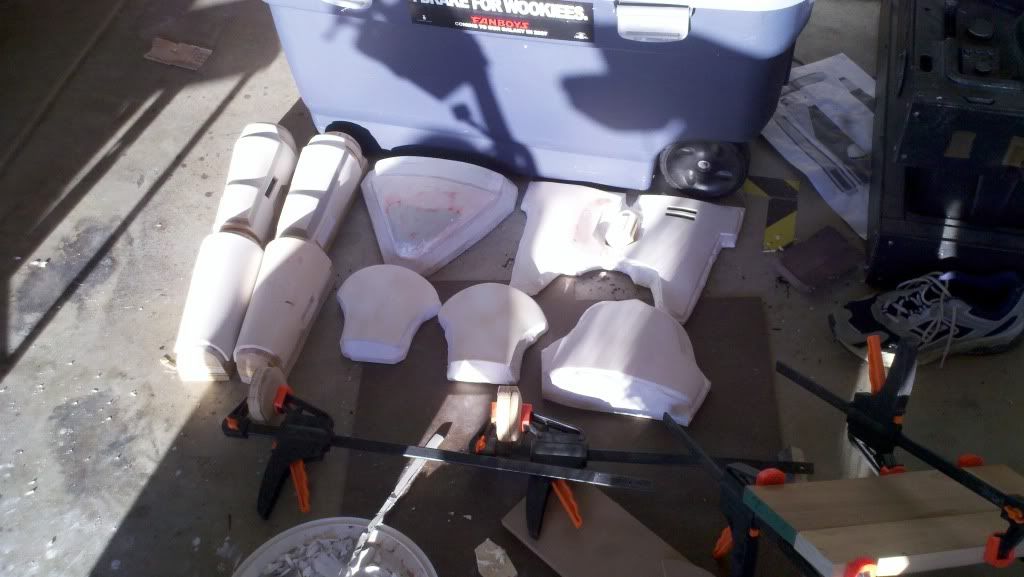
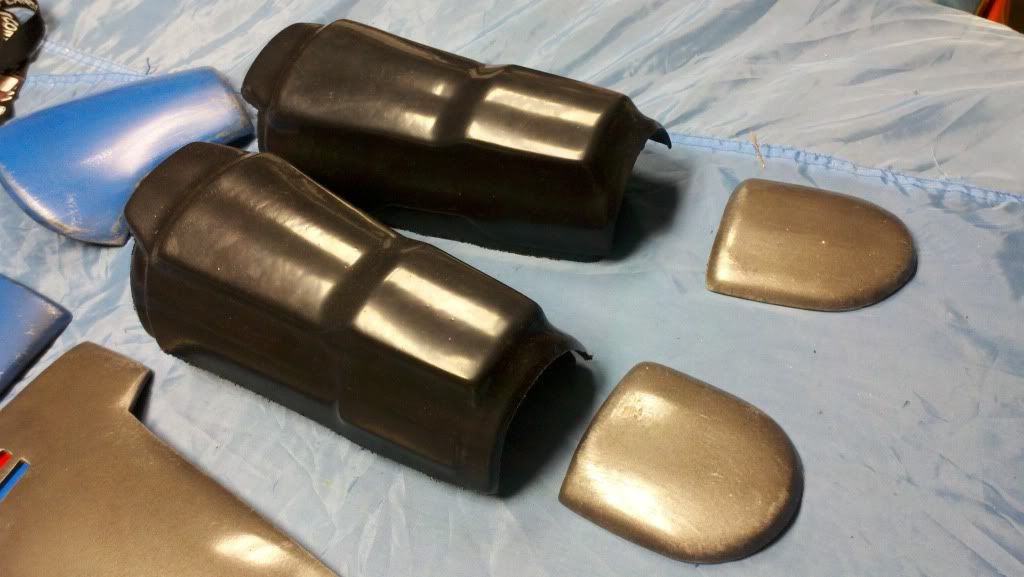
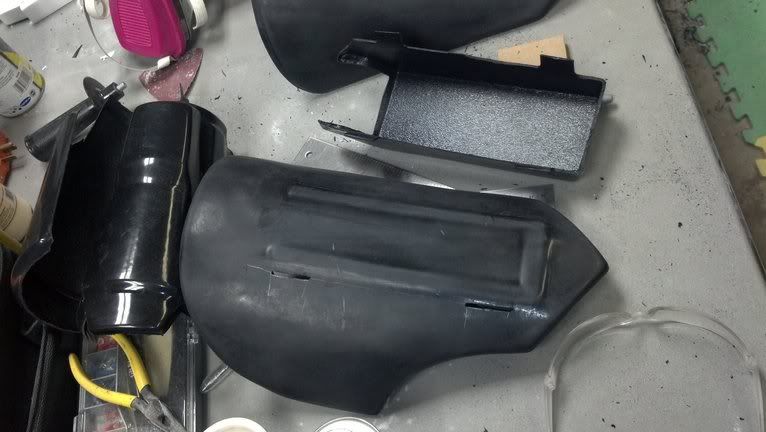
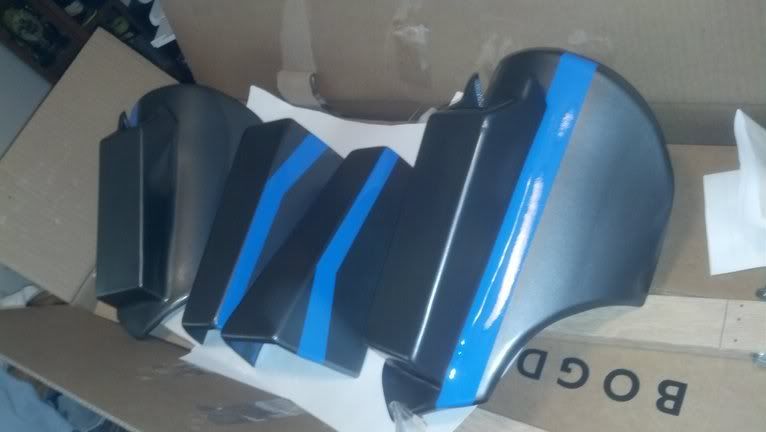
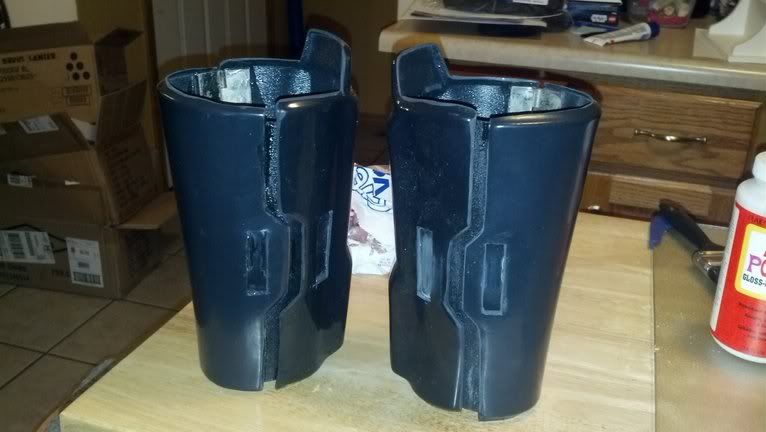
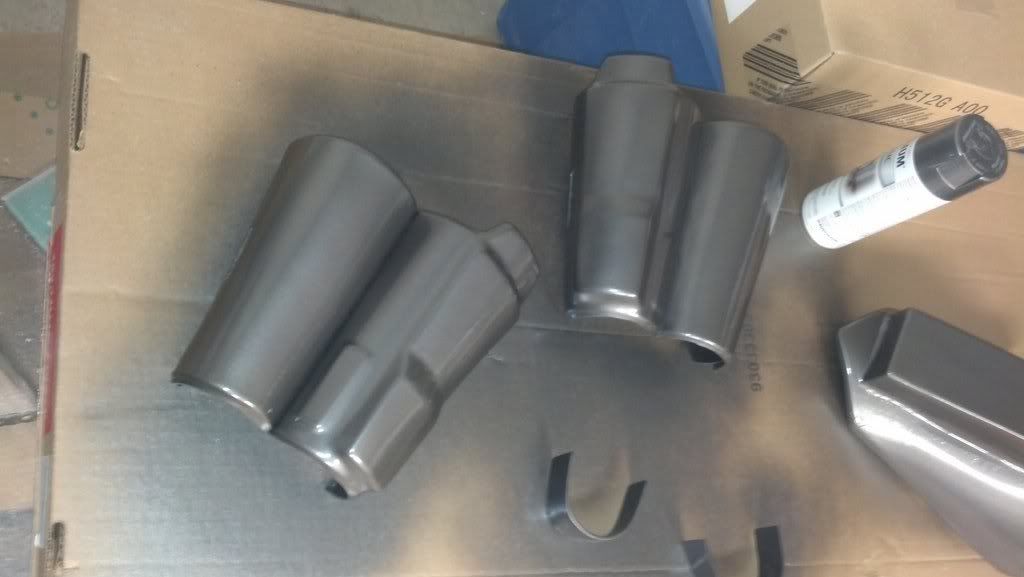
Thighs and shins:
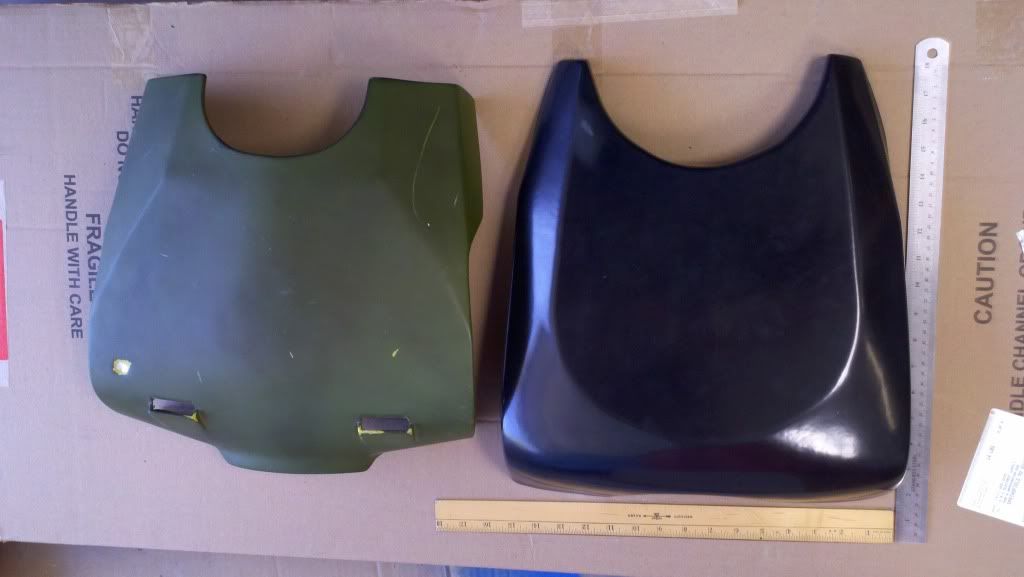
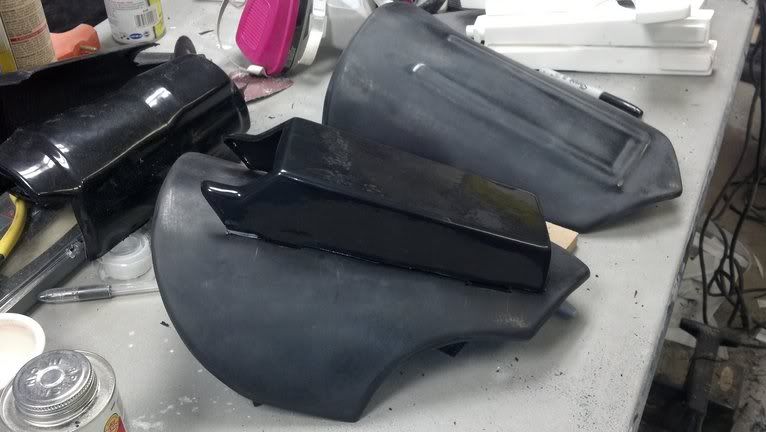
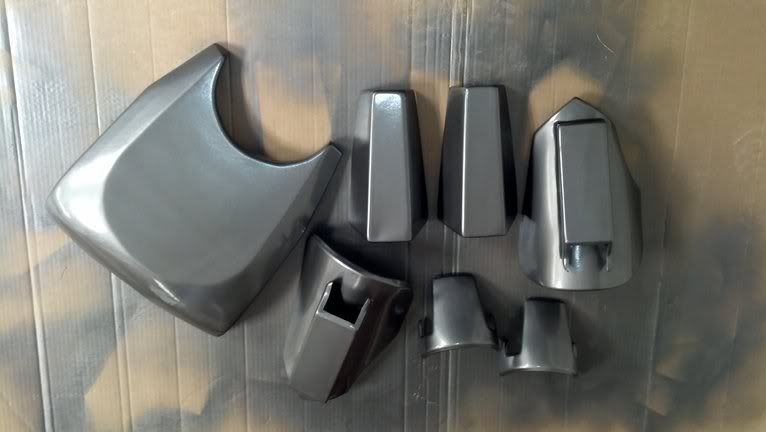
Back plate:
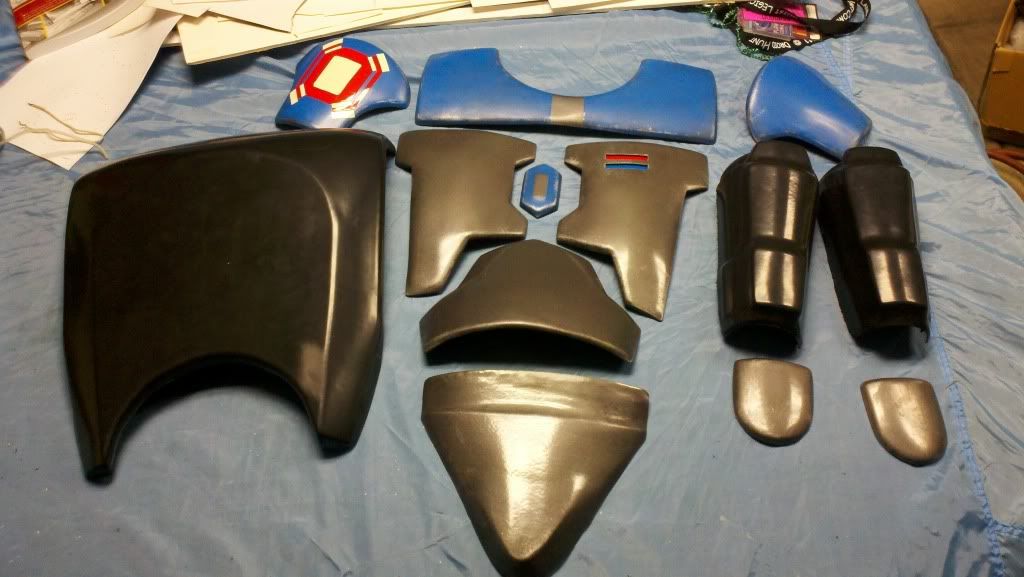
That's nearly all of the painting. I have since distressed and black washed all of these parts. (No pics yet) I also managed to get the mold for the boot covers shaped. I will be pulling those this weekend. It's time to start rigging all this on my person very soon!

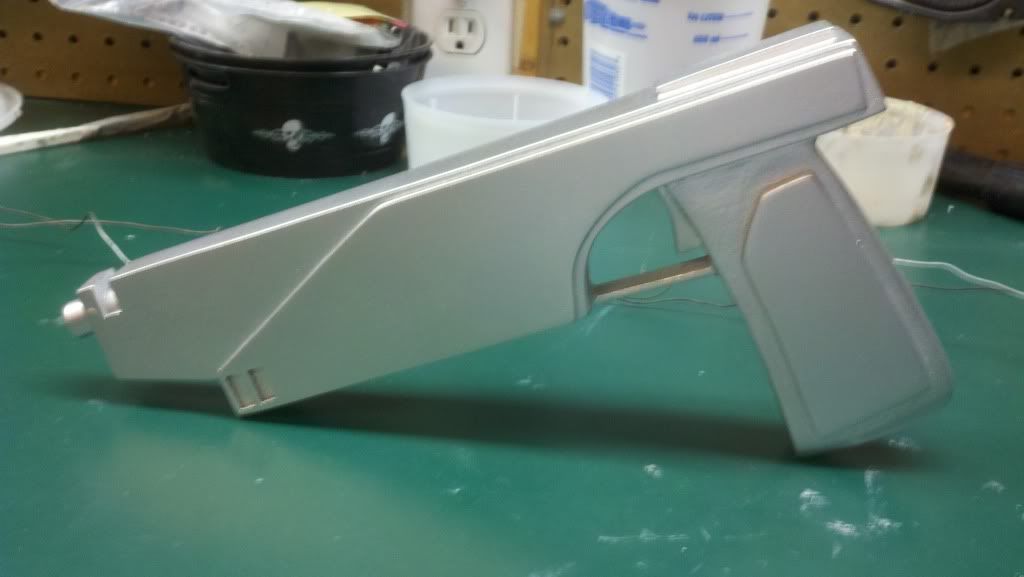
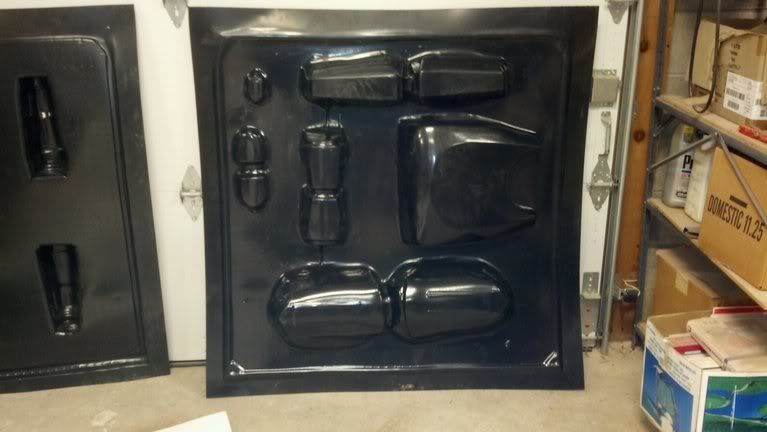
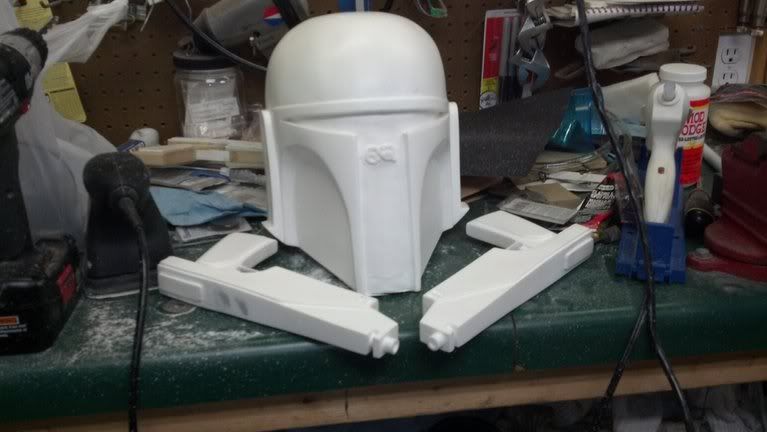
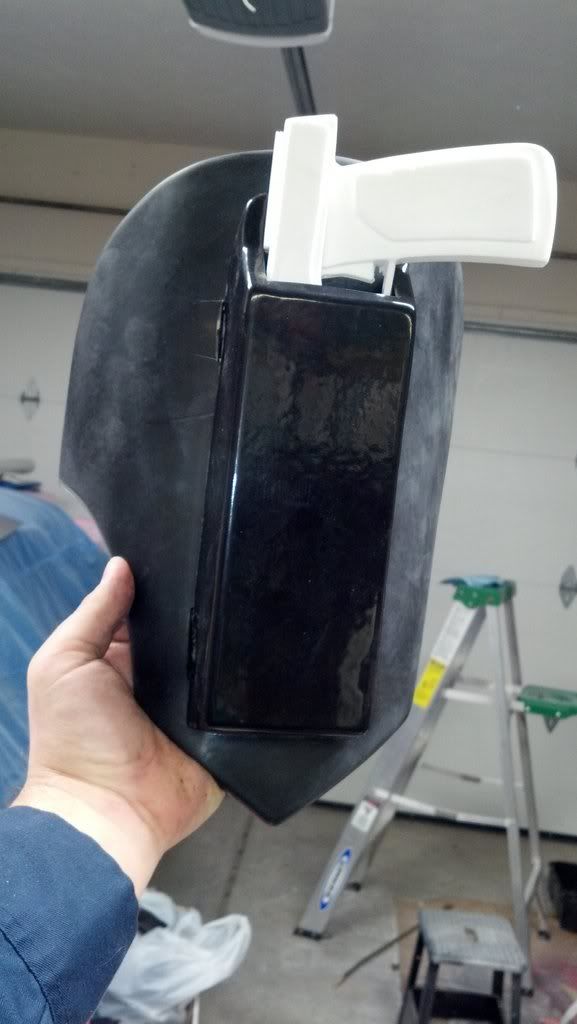
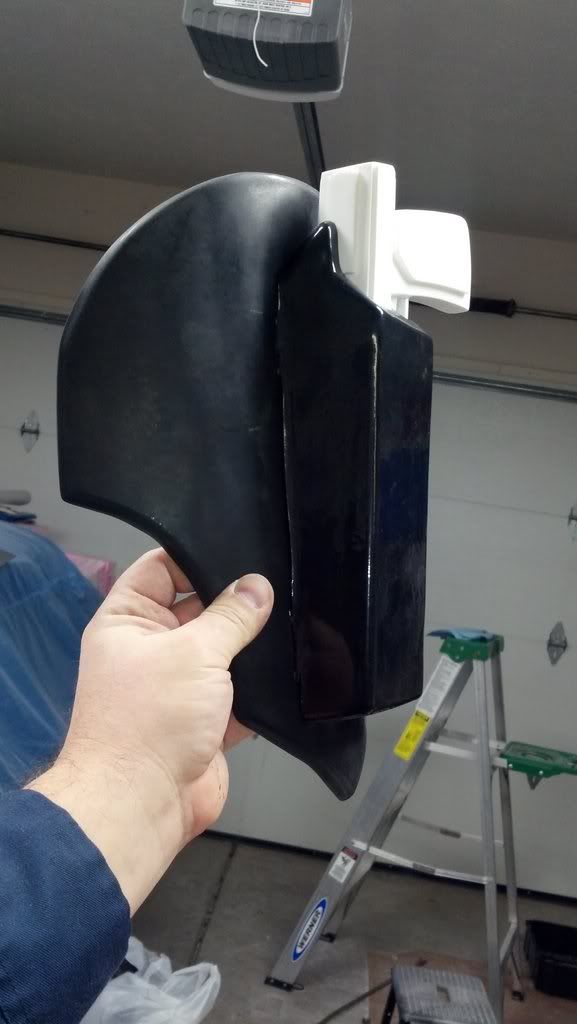
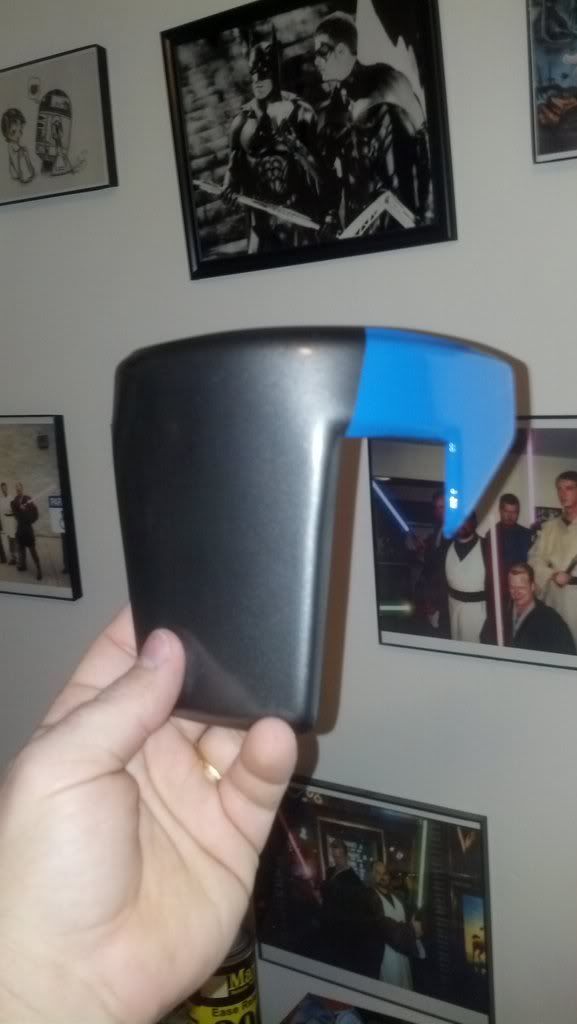
I decided to build my Gauntlets out of a set of 1/8" ABS pulls that I did the other night. Here they are roughly assembled
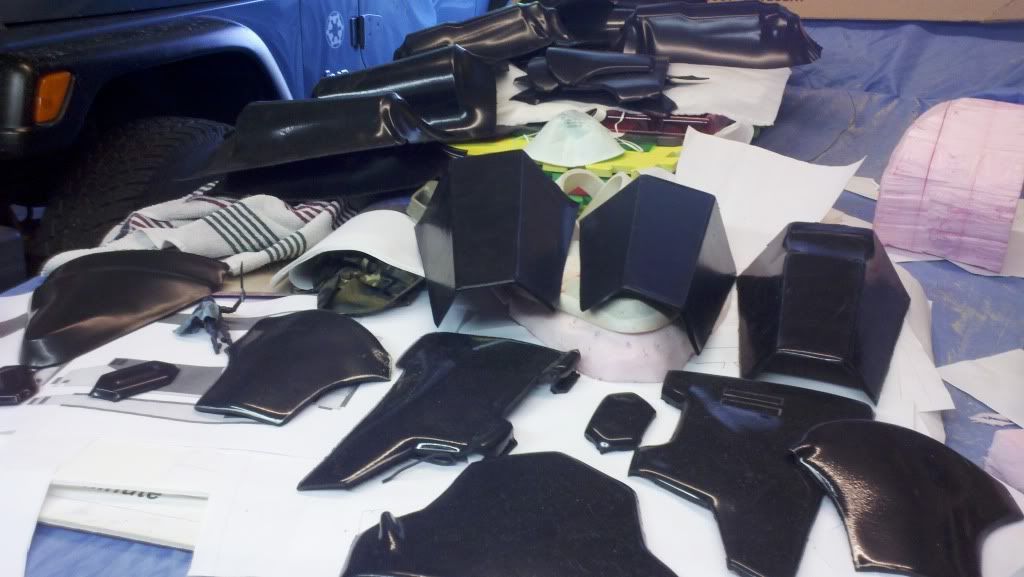
and after sanding and a coat of Charcoal Metallic:
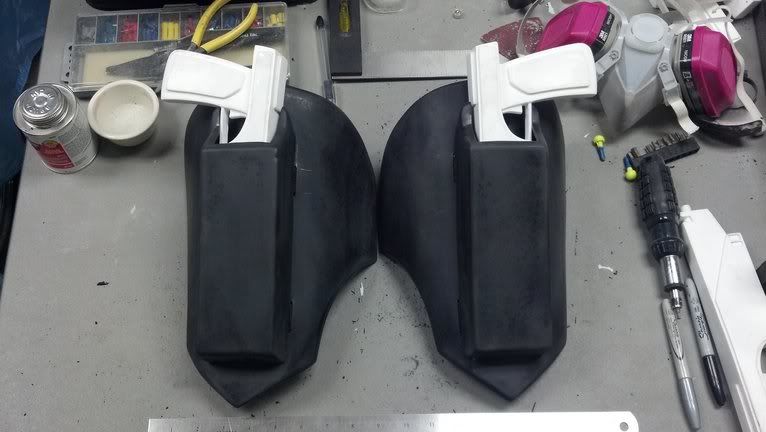
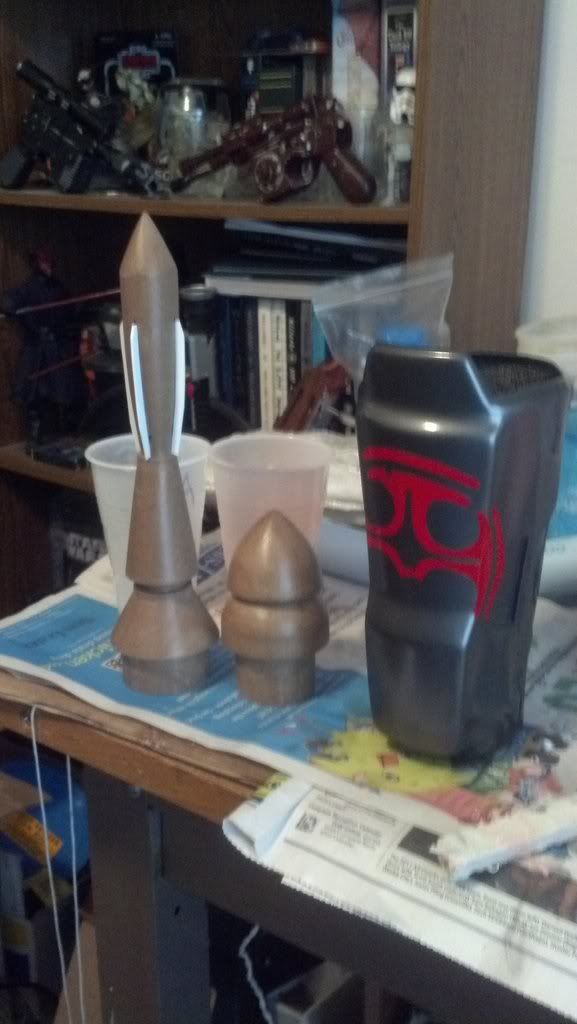
The right gauntlet detail painted on. (I have since touched this up a little.)
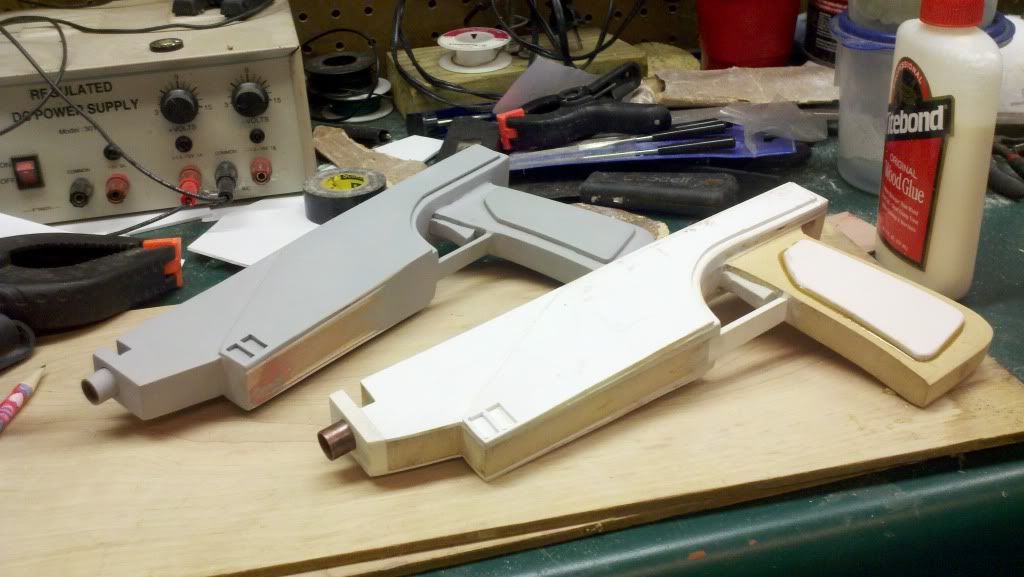
Also in this pic, my master rocket and tank topper before molding.
I have been really fighting myself on buying/not buying the Palladium boots. Firstly, they seem really expensive to me for what they are. . . I am sure they are super comfortable, but I was determined to find a less expensive "beefier" option. So, the other day I am at Walmart and I happen through the Shoe department. I find the Brahma 'Banjo" boots. ($28) They lack the toe plate, but the overall look of the boot is good and I like the design of the sole. So, I made a makeshift toe mold out of pink foam (Single Use) and broke out my tiny vacuum Table in the kitchen.
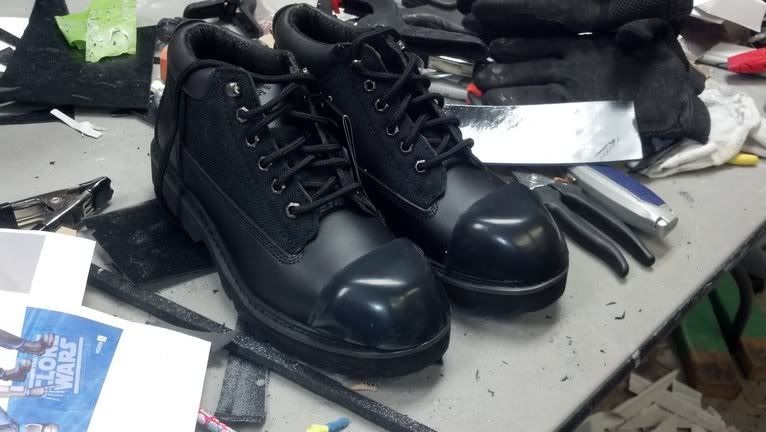
I bent a scrap piece of ABS for the rear strap 'armor' by heating it with my heat gun and bending it to fit the rear of the boot.
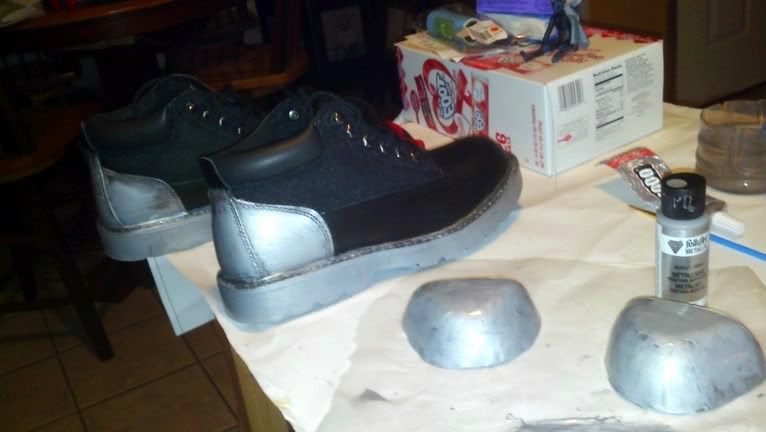
I found some Silver Acrylic paint to silver up the soles, heels, and toe plates. I will probably coat the toe plates with some clear afterwards for durability. I think the look is turning out very much like the animated version. Grimey metal. :-)
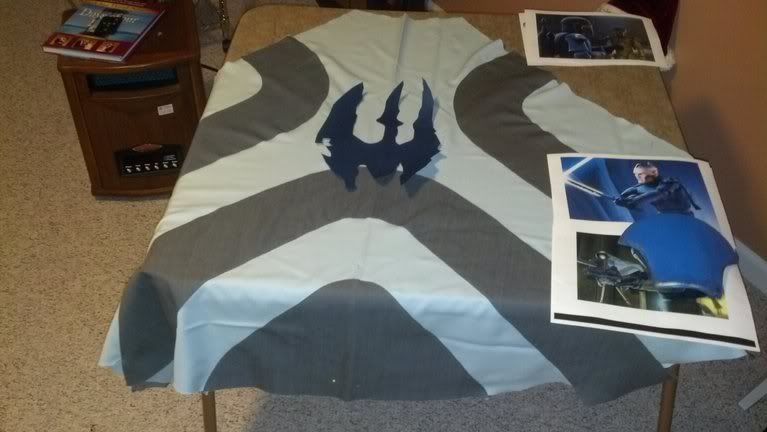
And my cape is nearly done as is my flight suit, and Flak Vest. (More pictures to come.)
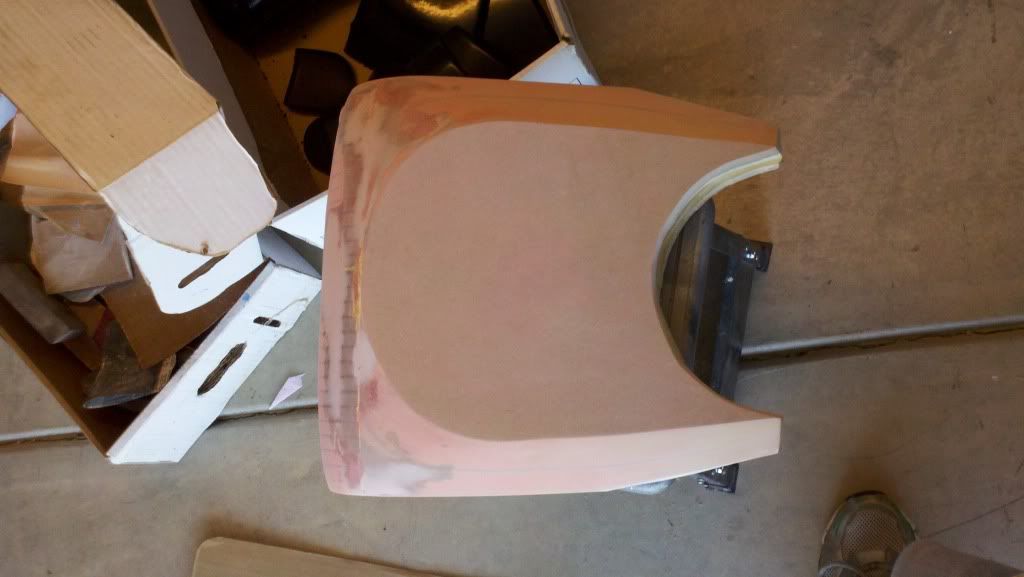
And now, on to the hard part...
I would like to preface this with the fact that I am leaning heavily on the experience and the methods of those that have gone before me. STG's WIP, specifically, has been an invaluable resource as I try and figure this thing out. Thanks STG, you rule.
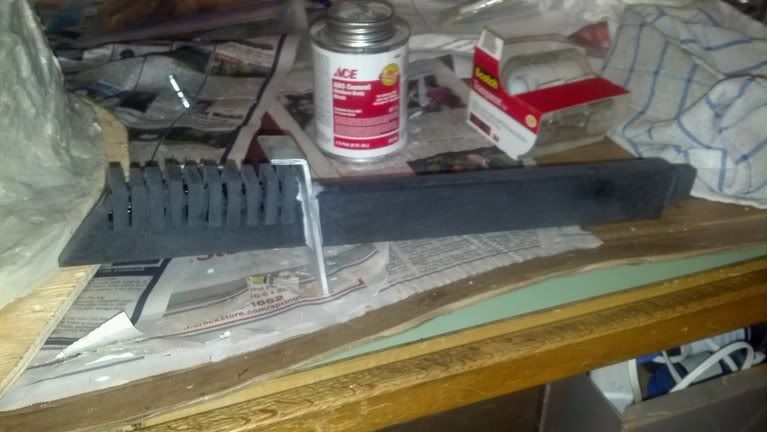
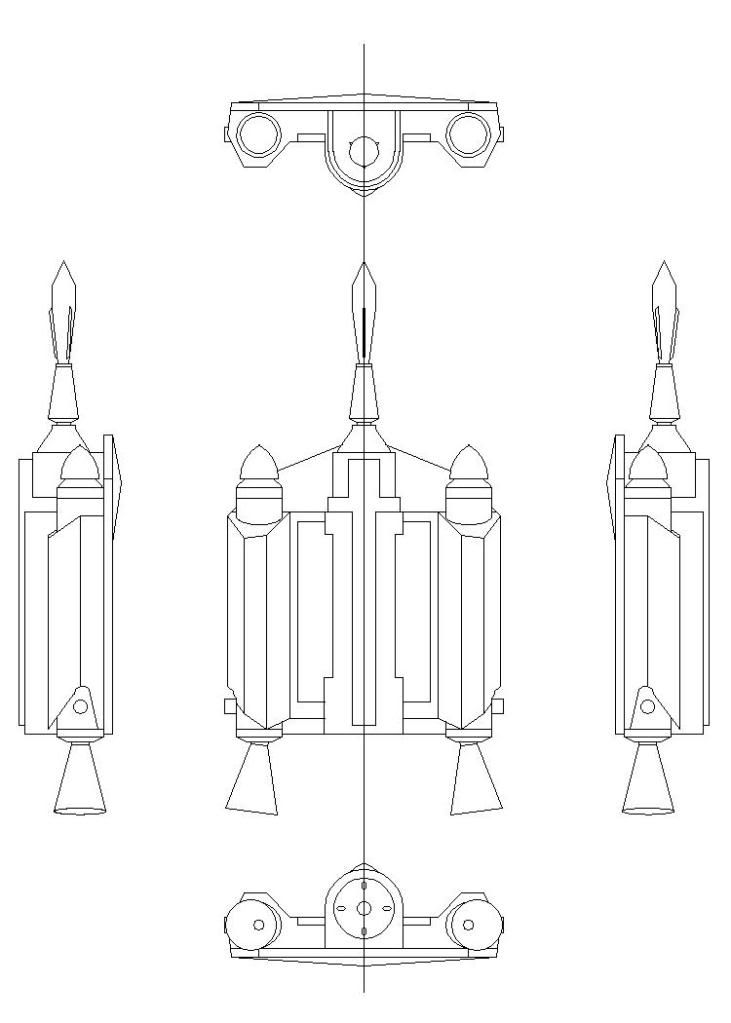
I have started the mold for my Jetpack. I began by importing in a few screen shots from the Mandalorian Plot episodes into AutoCAD. Then, I brought in a sketch of Jango's Arena pack and rescaled and re-detailed the pack to match the proportions of the actual animated one. After this was complete, I scaled it to the width of my backplate. Here are a few of pics of my progress:
The plans:
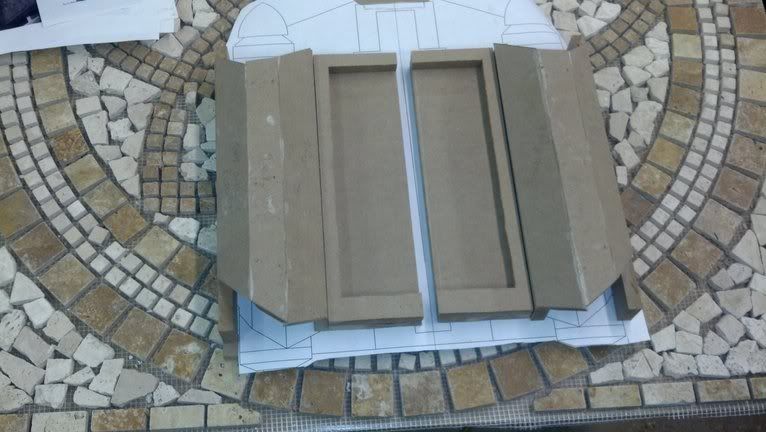
The wooden body coming together:
Here is a shot of the Tank topper master and the rocket without it's fins.
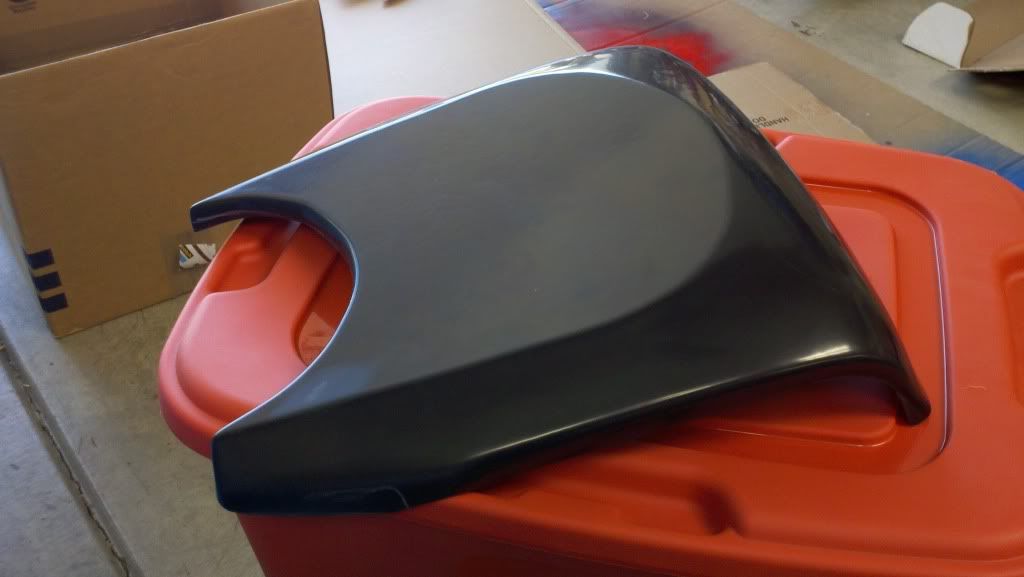
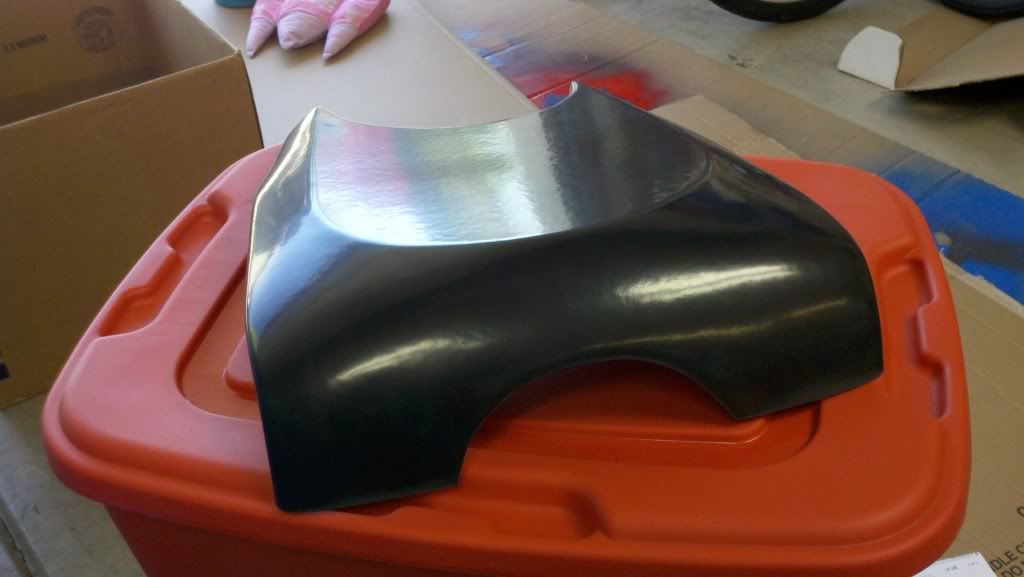
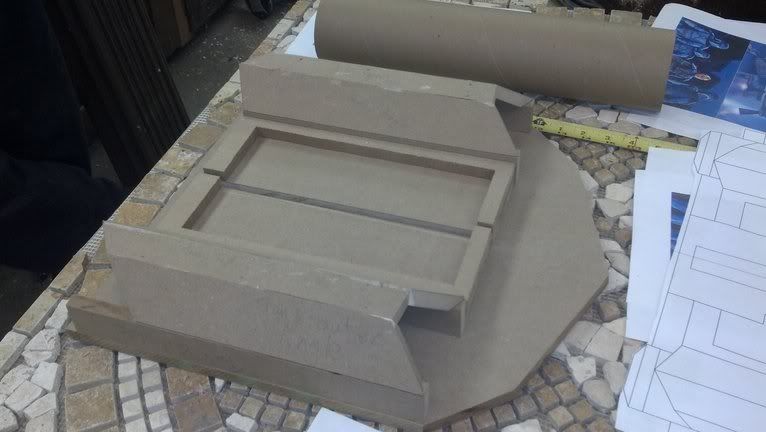
A little more progress on the JP mold.
Cloning procedure successful!
I am really hoping that I can get this bad boy to the vac table within THE NEXT WEEK!
I have 14 Days left till VisionCon!