Clam Shell Halves -Pic to come
STEP (2) Glue the Clam shells flush to one another and begin the bondo process. Once bondo has been smoothed out completely to your liking, add the ear caps and utilize bondo for any areas of the ear cap that don't lay flush to the bucket. Let bondo dry.
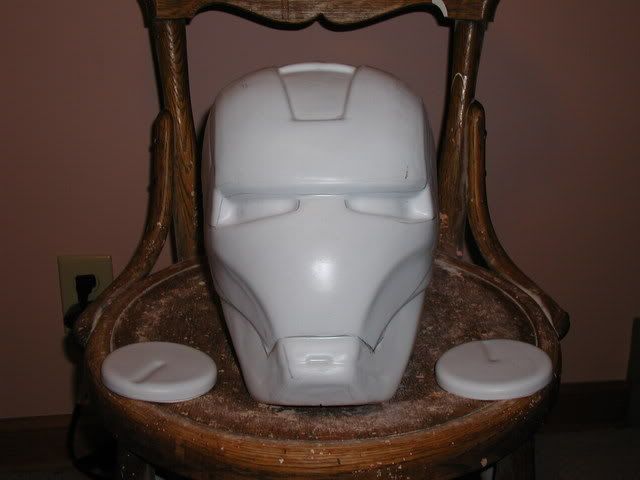
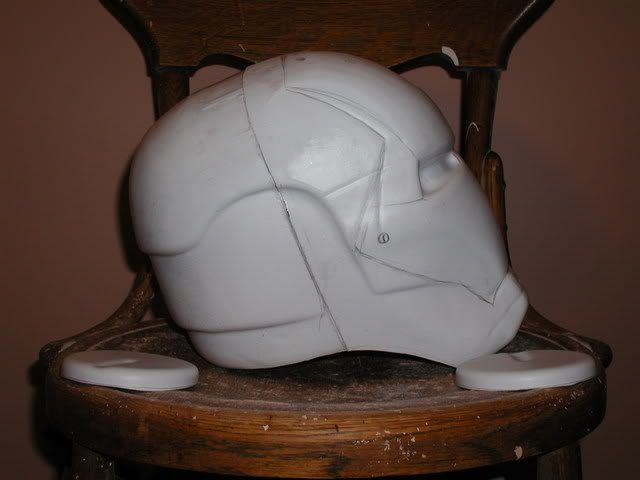
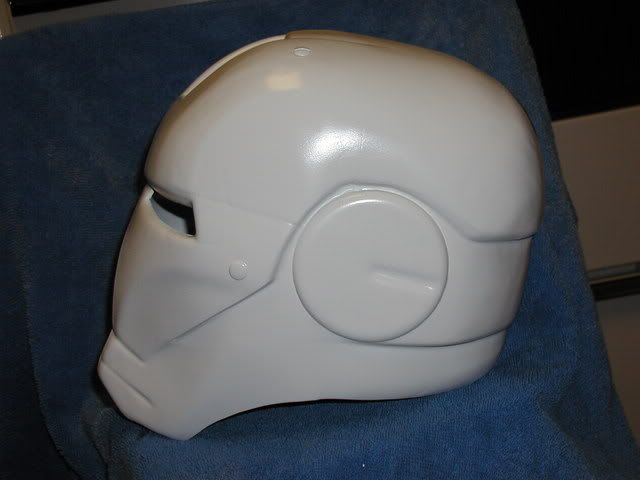
STEP (3) Modify helmet to your liking. Notice I cut some of the cheek away on my helmet and added bondo to give it a nice straight edge look to the face line. Once bondo has fully dried, shoot it with a good coating of Primer. I also hit this with Gloss White Paint over the Primer as Gloss paint is a thick and heavy paint which will get rid of any pin needle areas on your project. Notice I also added button screws for details to the bucket as well.
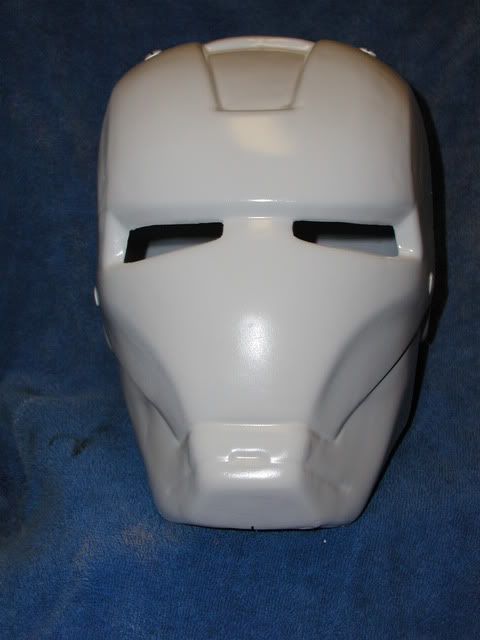
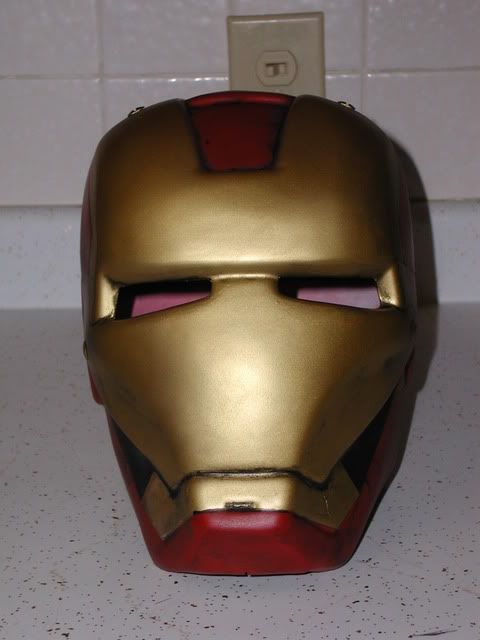
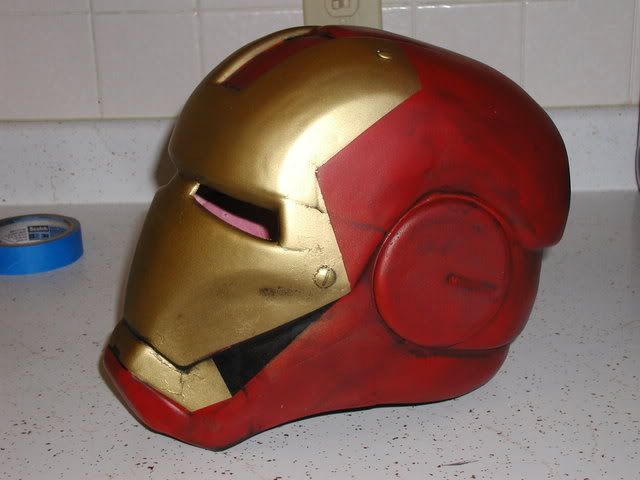
STEP (4) Primer coating must be fully dry before you continue. Next step is to paint the entire bucket with HOT ROD RED or a red of your choosing. Allow the red to fully dry before applying the Gold or yellow paint. You may also want to seal the Hot Rod Red in place by giving it a good spray of High Gloss Coating. This will allow you to take out any of the gold overspray that you will apply in the next step. Wet sanding is also a nice added bonus for smoothing out the rough paint speckles. I utilized Metallic Gold...not the best choice as this is difficult paint to work with...real difficult. I would recommend using something else such as Acrylic yellow and gold for the face outlining. You'll notice I have a couple little ripples in the face from the gold paint. I also utilized a black wash to help the curves and such stand out a little more and took a little creative liberty with some black outlining.

STEP (5) Add the neck ring. The neck will actually swivel so your head can fit inside, but gives it that nice neck ring look. I may work on a couple other painting pieces, before I'm finished. Pics to come.
STEP (6) This step will illustrate how to install the light-up eyes. Pics and tutorial to come.