TK3181's Westar 35 Build (Pic Heavy!)
Posted: Fri Dec 16, 2011 10:04 pm
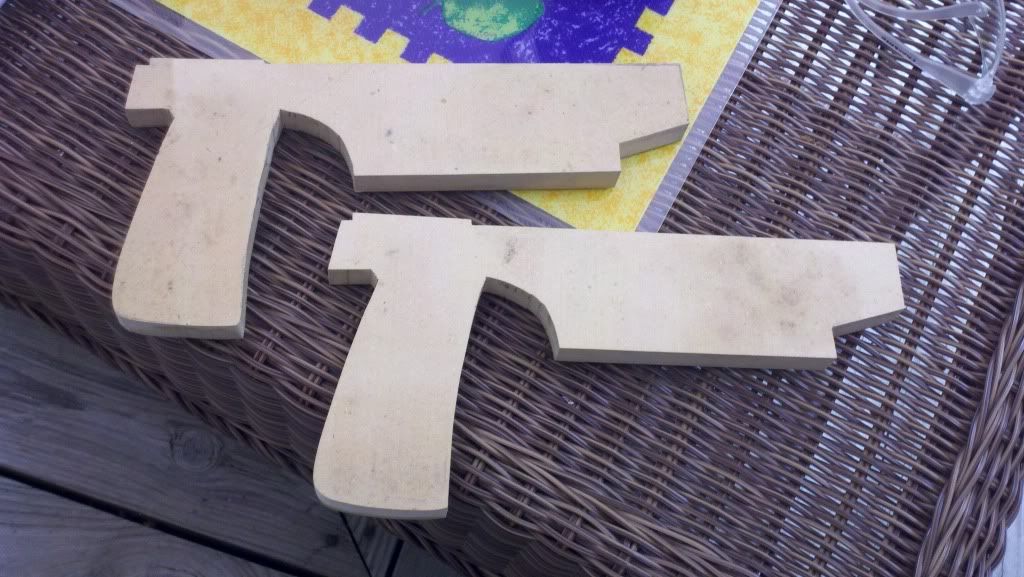
Alright, time to illustrate why my armor build WIP has slowed to a crawl. I have been pretty busy crafting a set of Westar 35 blaster pistols. Some of this progress can be seen in my Pre Vizsla Build thread, but I decided to break the Pistols out into their own build because of the complexity of the process. They started from humble beginnings as chunks of unassuming MDF. and have progressed to a pretty good cast Resin side arm. I have taken a great deal of direction from STG's build and a few other sources around the interwebs to come up with my own take on a this set of cartoon blasters-made real. Here is a rough timeline of my progress in photos. Please feel free to comment or make suggestions. I have built a lot of one-off blasters and props, but this is my first attempt at fashioning a mold for mass production. . . because I need two identical blasters for my costume! ;D
The Virgin MDF
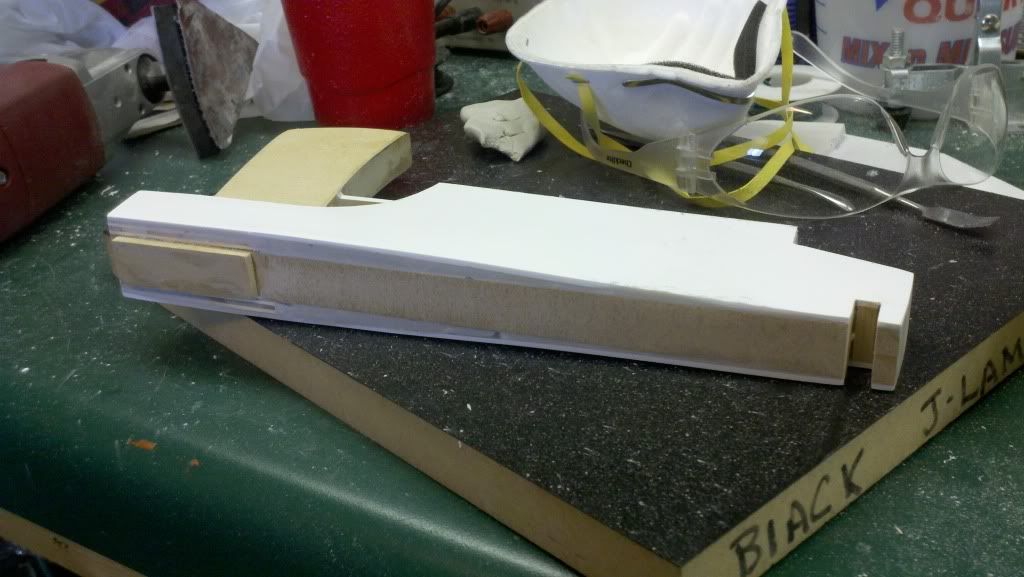
Addition of the ABS Sides
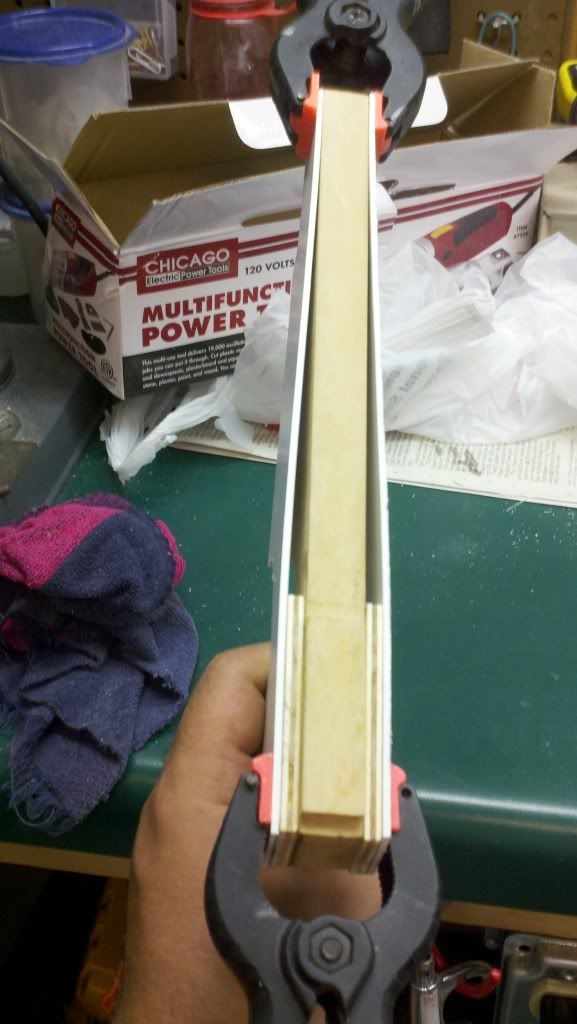
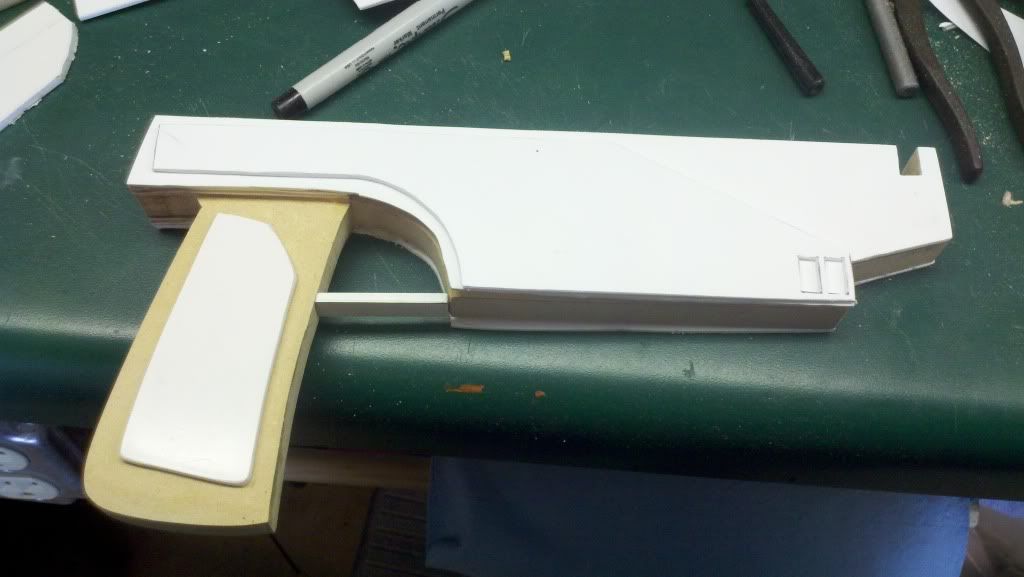
With additional side panels and Grips (ABS)
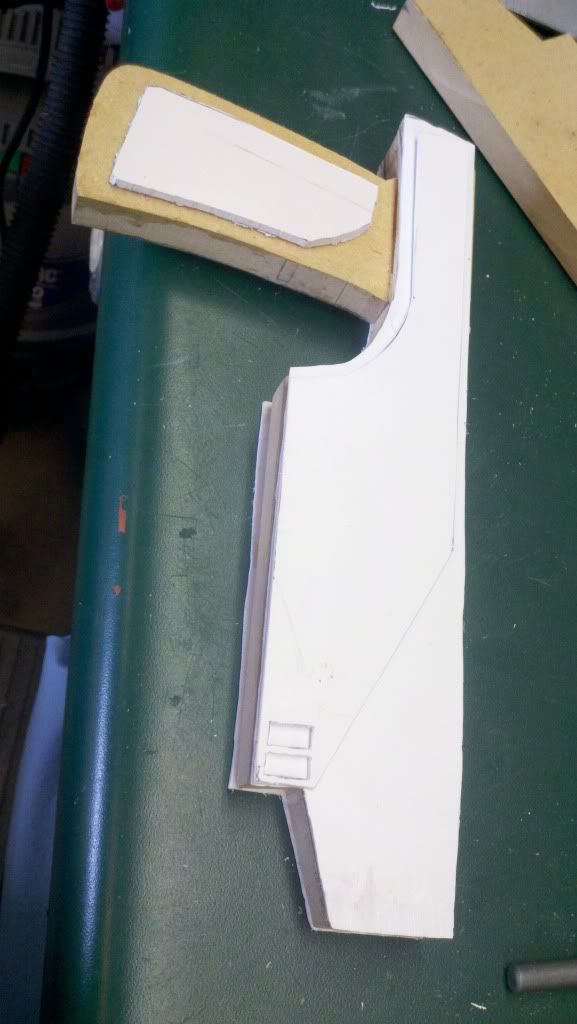
Notch cut out
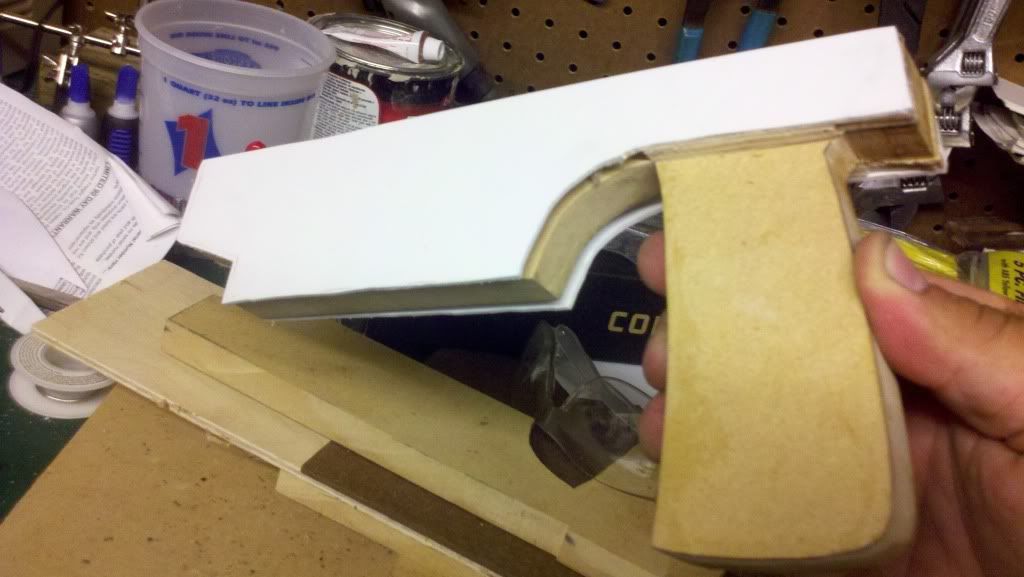
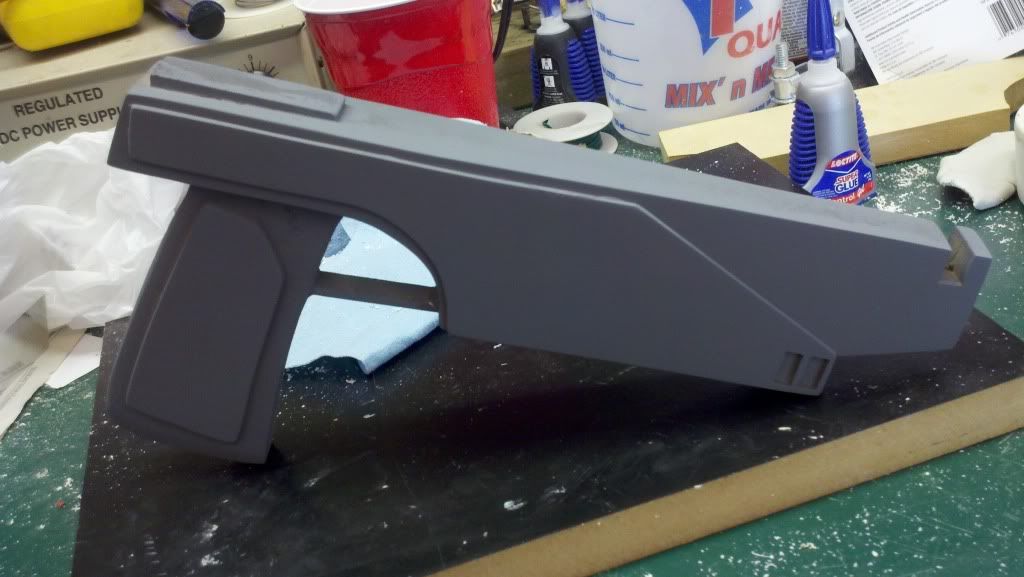
Tapers filled with Ye old Magic-Sculpt
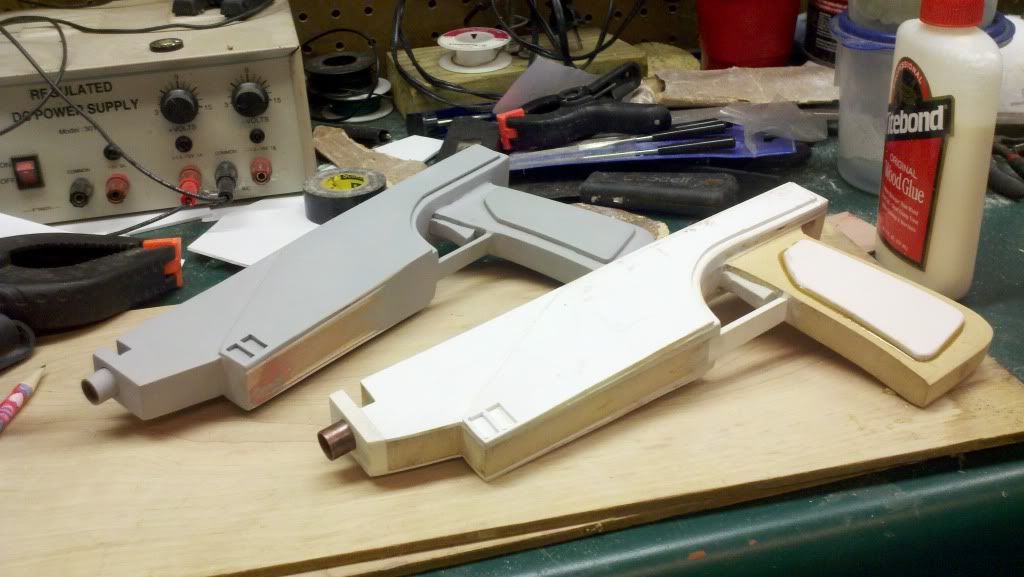
Sanded and Primed
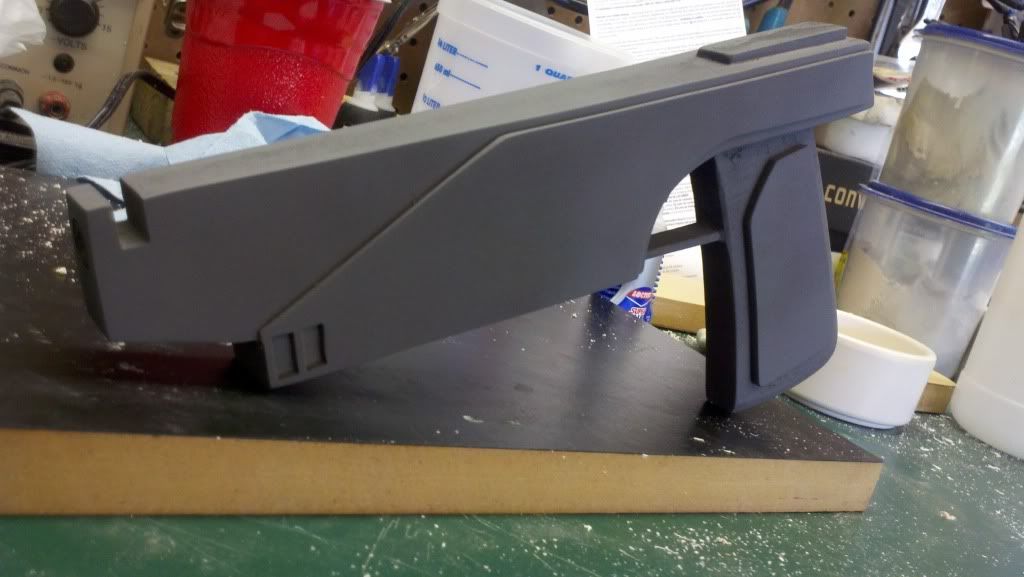
More sanding and priming. Also added the Copper barrel. (I built two wooden originals just in case the molding and casting failed miserably...)
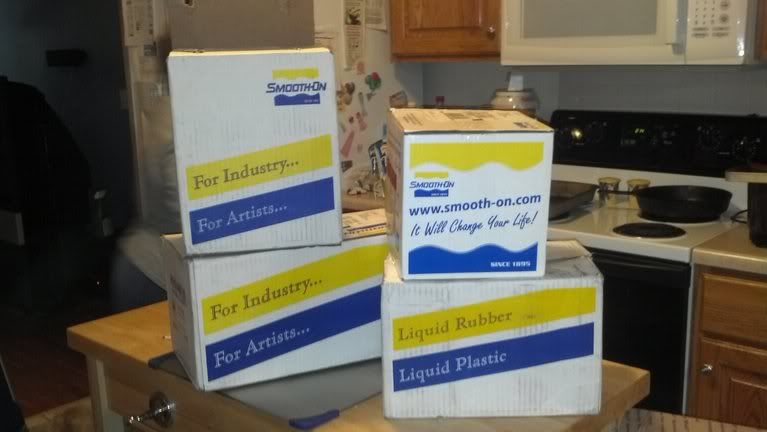
You have no idea how much this delivery excited me.... well maybe you do.
Clay "Mold box"
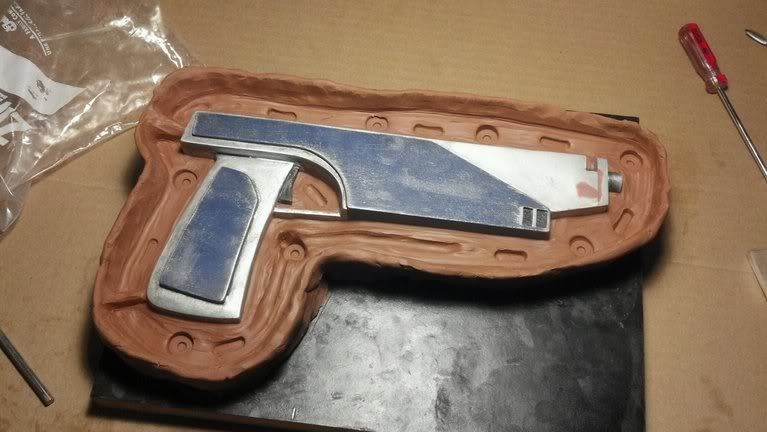
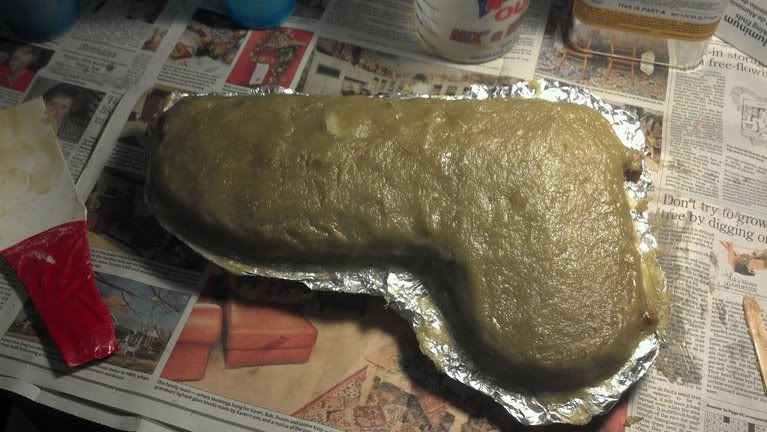
First side filled with Silicone

Building a clay Dam for the second side of the mold
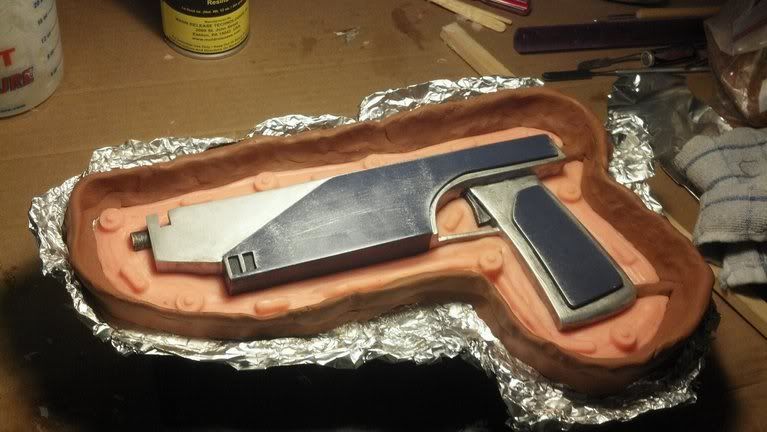
Second side of silicone poured and mother mold smeared on (Sorry I Skipped a couple of steps.)
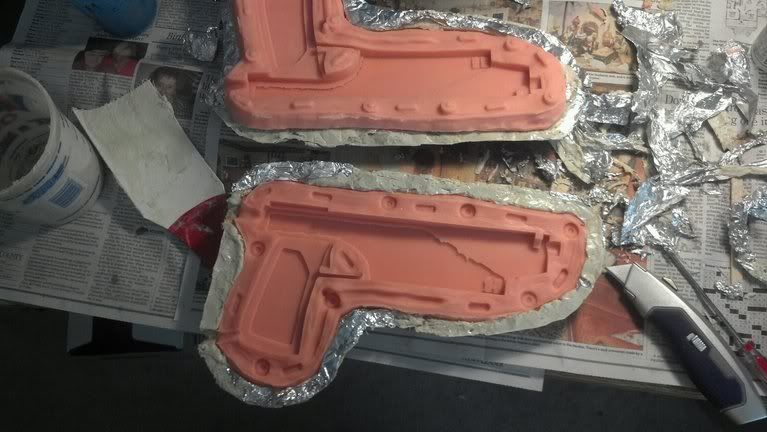
Removed the original and cleaning up the mold
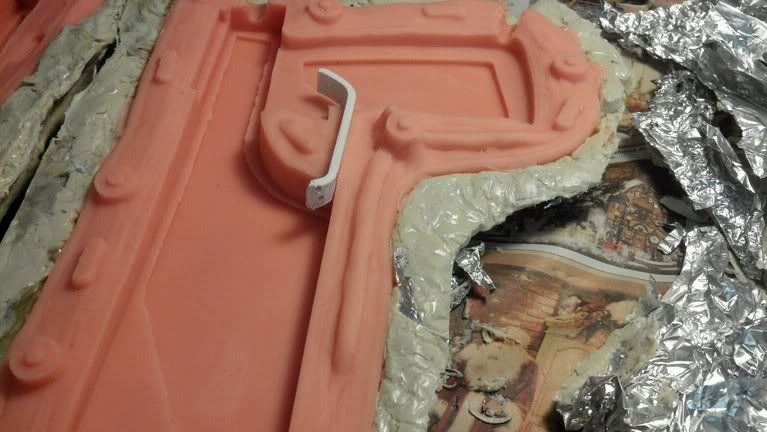
I was concerned about how the Smoothcast 300 would hold up as a trigger guard, so I fashioned one out of 1/8" HIPS and stuck it in the mold for rigidity. This really made for a SOLID trigger guard. (I like to spin them.)
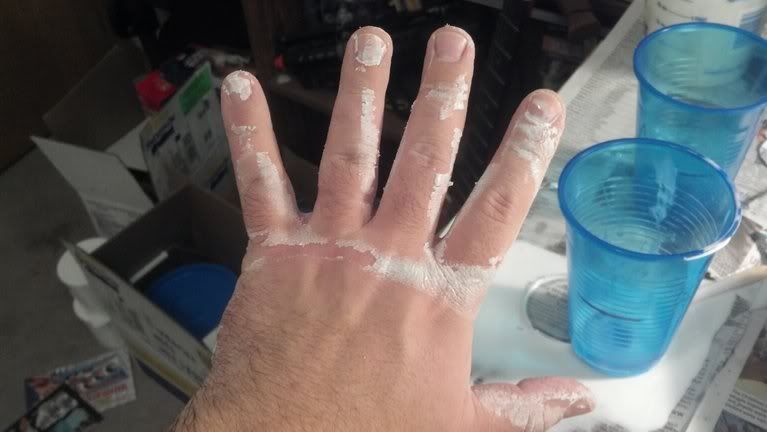
This is my PSA to ALWAYS wear your gloves when pouring your smoothcast. Not only is this nearly impossible to get off our your flesh, it mildly burns you if you fail to wipe it off.
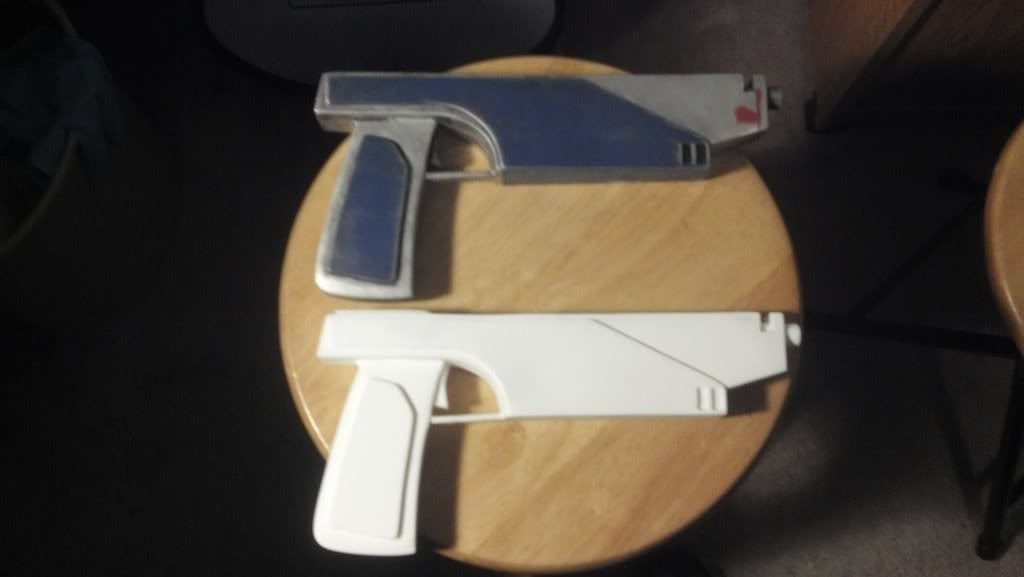
My first Resin copy is out of the mold and ready for clean up!
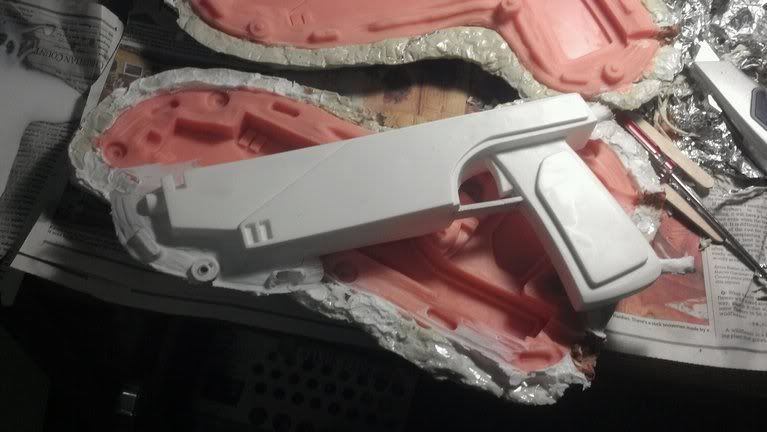
After a little clean up next to the the wooden original.
I am feeling pretty good about this whole process. I slushed this one with about 6oz of Resin so it has a few hollow voids internally. This helps with the weight. (Which is considerably less than the wooden original!)
If anyone is interested in a pair of these beauties, Hit me up with a PM.
The Virgin MDF
Addition of the ABS Sides
With additional side panels and Grips (ABS)
Notch cut out
Tapers filled with Ye old Magic-Sculpt
Sanded and Primed
More sanding and priming. Also added the Copper barrel. (I built two wooden originals just in case the molding and casting failed miserably...)
You have no idea how much this delivery excited me.... well maybe you do.
Clay "Mold box"
First side filled with Silicone
Building a clay Dam for the second side of the mold
Second side of silicone poured and mother mold smeared on (Sorry I Skipped a couple of steps.)
Removed the original and cleaning up the mold
I was concerned about how the Smoothcast 300 would hold up as a trigger guard, so I fashioned one out of 1/8" HIPS and stuck it in the mold for rigidity. This really made for a SOLID trigger guard. (I like to spin them.)
This is my PSA to ALWAYS wear your gloves when pouring your smoothcast. Not only is this nearly impossible to get off our your flesh, it mildly burns you if you fail to wipe it off.
My first Resin copy is out of the mold and ready for clean up!
After a little clean up next to the the wooden original.
I am feeling pretty good about this whole process. I slushed this one with about 6oz of Resin so it has a few hollow voids internally. This helps with the weight. (Which is considerably less than the wooden original!)
If anyone is interested in a pair of these beauties, Hit me up with a PM.